This tutorial will show you how to install Raspberry Pi operating system Lite for Raspberry Pi version 4. And now a days, installing the operating system of Raspberry Pi is really easy.
Install Raspberry Pi OS Lite
We need to download the Raspberry pi Imager on their website: Click here
After the download, please install Raspberry Pi Imager and run the program.
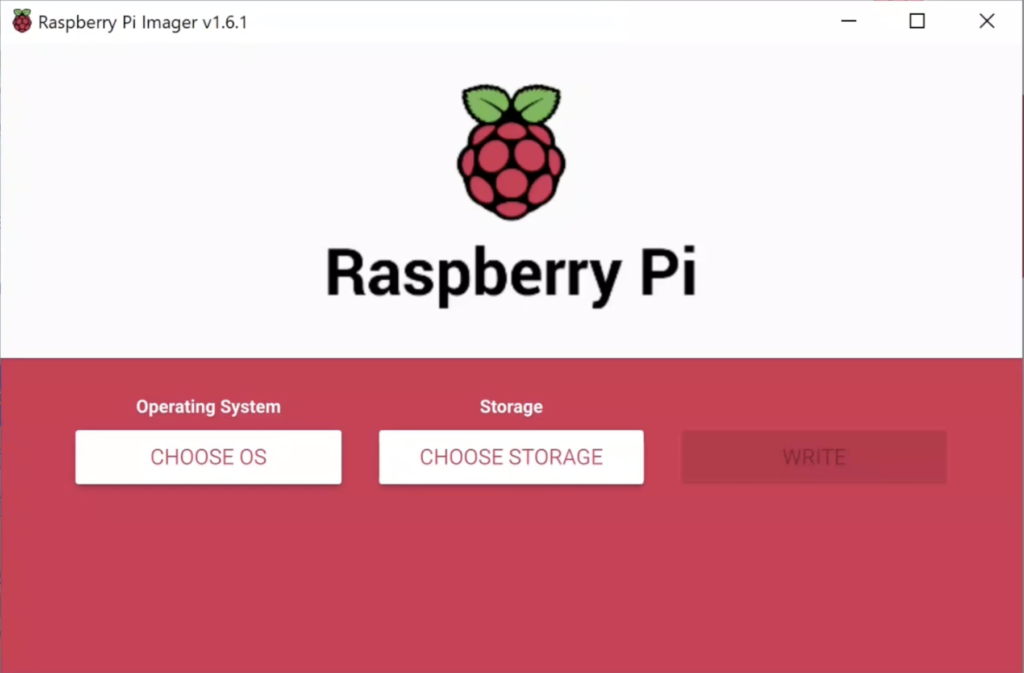
Click Choose OS.
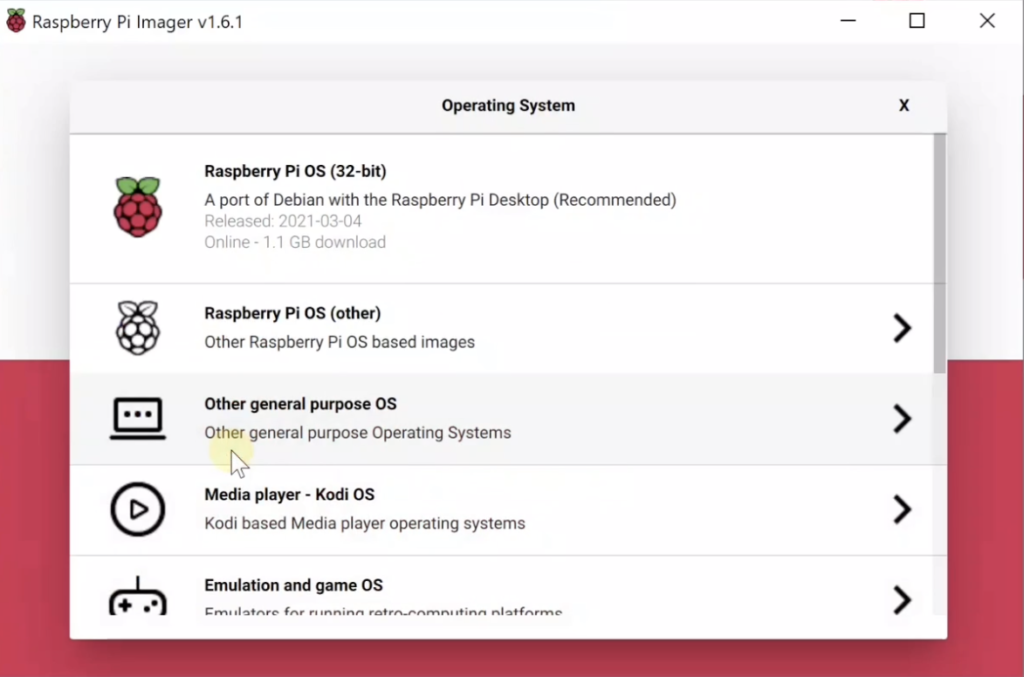
From here you can choose the Raspberry OS and the program will download it online. Raspberry PI OS Lite can be seen on the second selection: Raspberry PI OS (Other)
But letting it to download online is very slow. If you have torrent application, I suggest to download the OS image in torrent.
Go back in their website and on Software, click Raspberry PI OS. You will see list of Operating system.
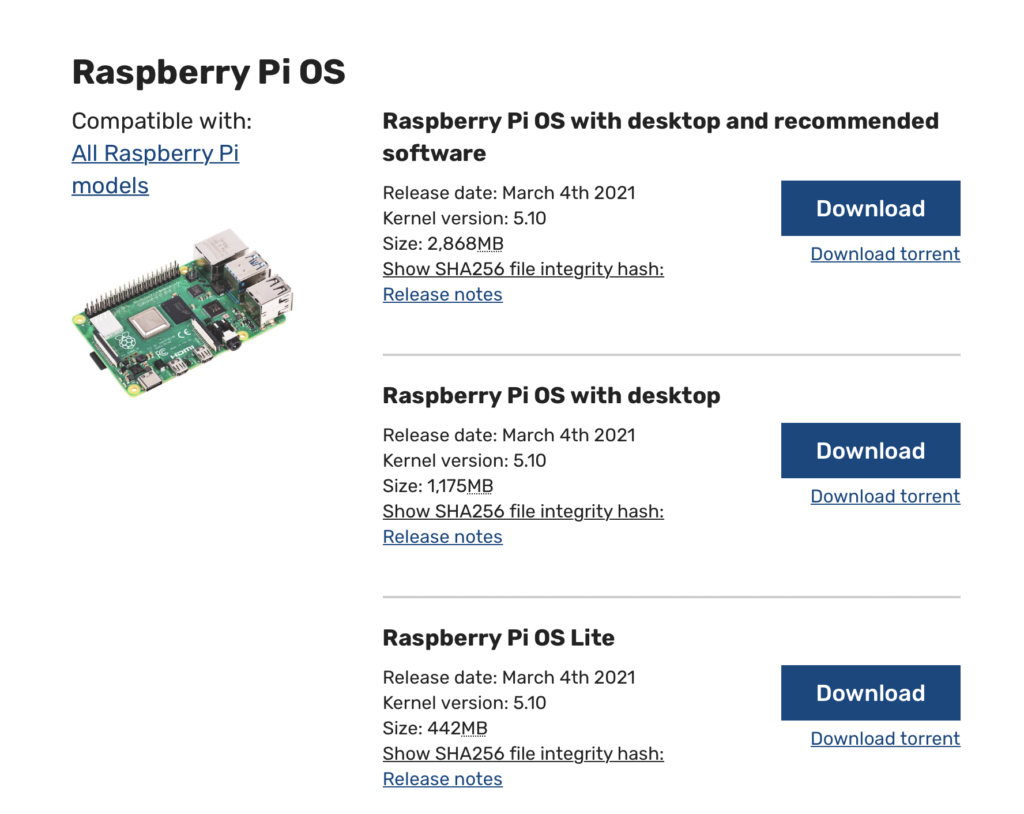
You can download it directly, but it is very slow.
Get the torrent link and paste it to your torrent application to download. In my system, i download it less than 4 minutes.
Now that you we have the OS lite image file, it’s time to write using Raspberry pi Imager.
On Raspberry pi Imager, after you click Choose OS, scroll down to the bottom and select Use custom.

Locate the Raspbery pi OS Lite image file you had downloaded.
Insert MicroSD card in your computer and click Choose Storage and select the MicroSD card drive.
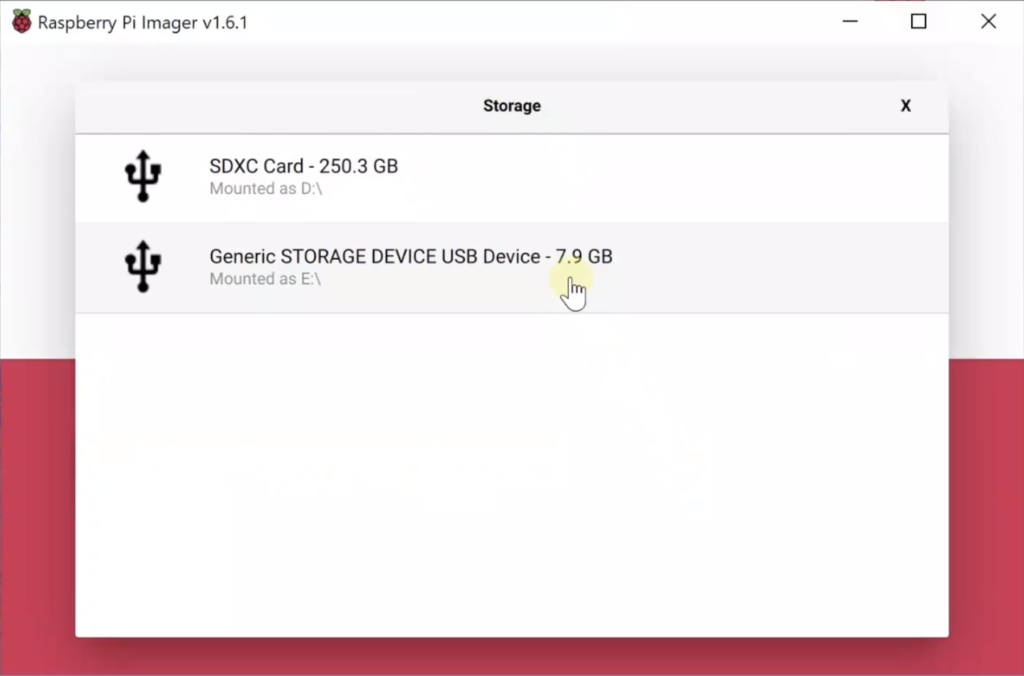
Finally, click Write. This will erased all the files in your MicroSD card and write the operating system.
Once writing is finished, remove and insert the sdcard in Raspberry pi. Plug your keyboard, hdmi cable, ethernet cable if you have and lastly plug the power to turn on the Raspberry pi.
Default Raspberry Pi Username and Password
You will be prompted to login.
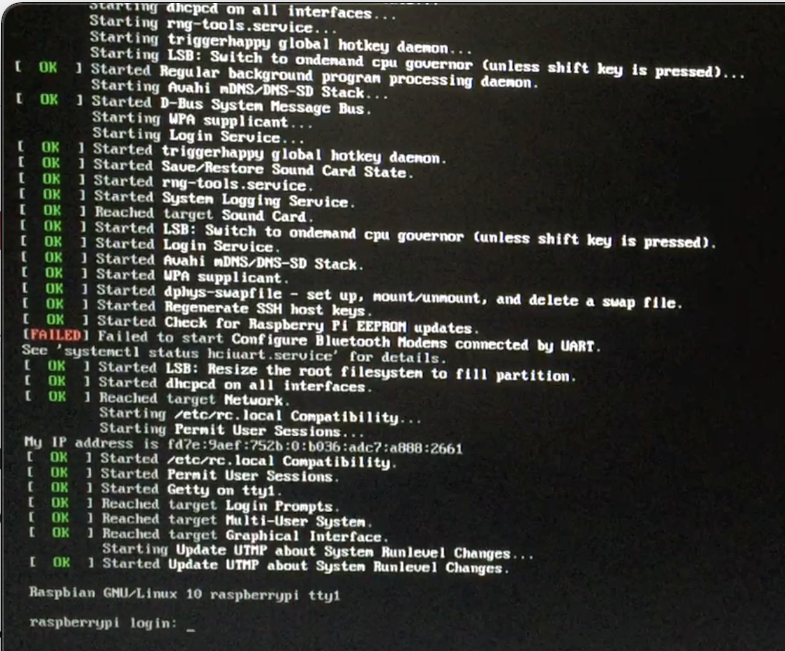
This is the default user name and password of Raspberry pi
- Username: pi
- Password: raspberry
Login using this credentials.
Using Raspberry Pi Configuration Tool
Once you are logged, we can now configure the raspberry pi using the configuration tool. Type:
sudo raspi-config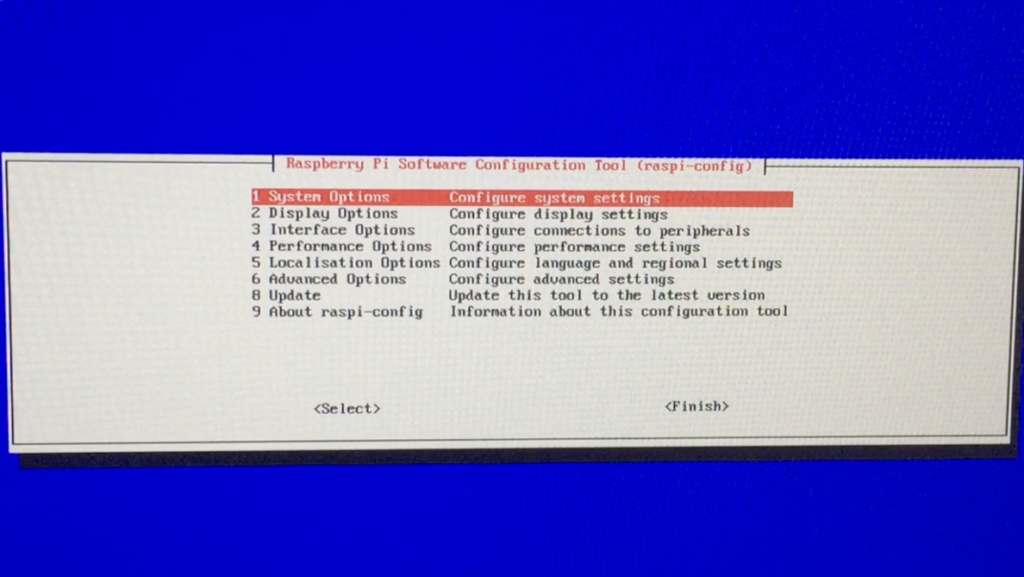
Select 1 System Options >> S1 Wireless LAN >> Select your country.
Please enter SSID (your wifi name) and wifi password.
Reset Raspberry Pi Password
Select 1 System Options >> S3 Password.
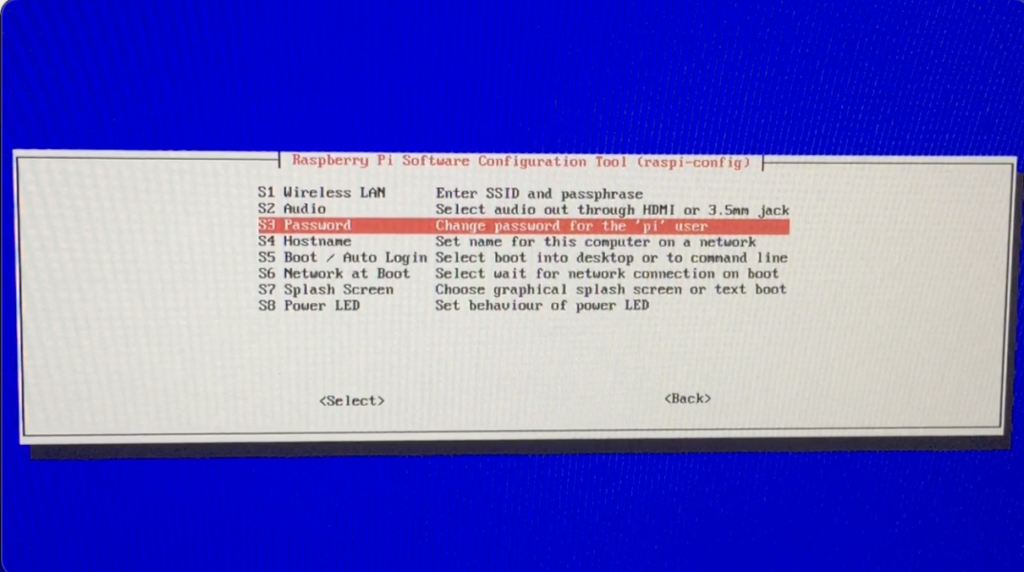
Enter the new password twice.
Set Raspberry Pi Hostname
Select 1 System Options >> S4 Hostname.
Enter your desired hostname
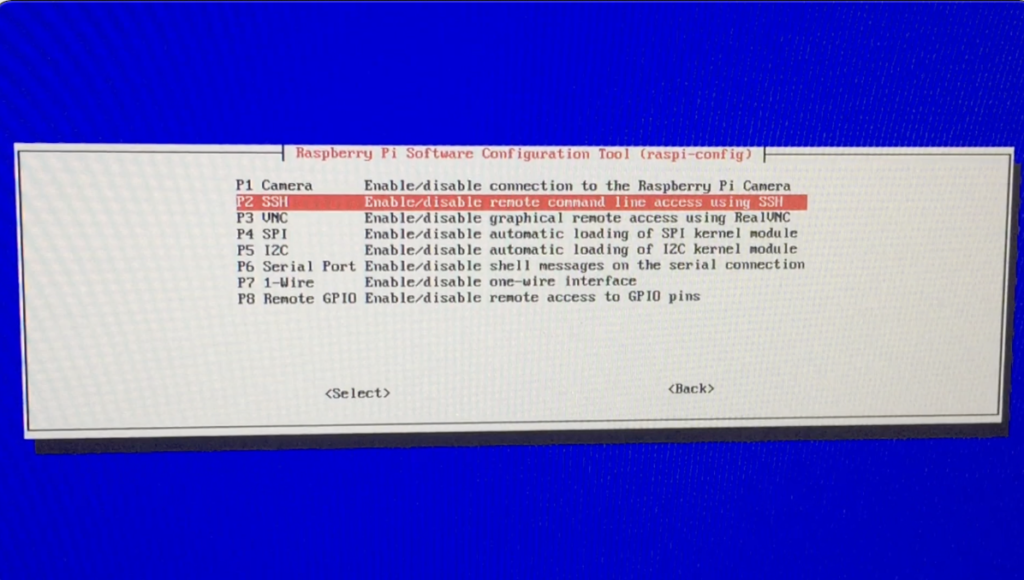
Enable SSH Server
Select 3 Interface Options >> P2 SSH, press enter and select yes to enable SSH.
Expand File System
Select 6 Advance Options >> A1 Expand Filesystems and hit enter to apply.
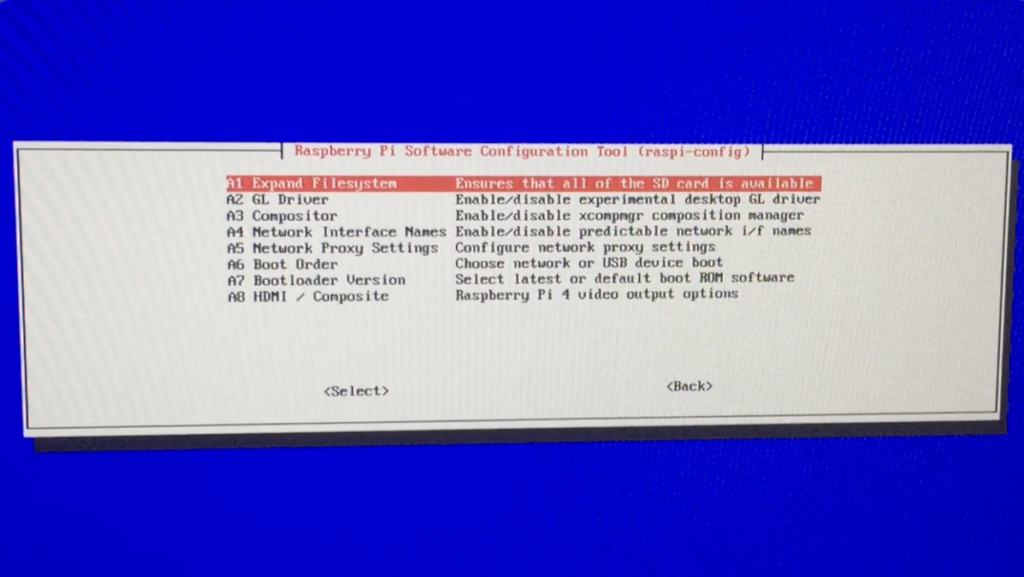
Click Finish to reboot Raspberry pi.
Access Raspberry Pi Remotely
To access Raspberry Pi command line remotely, we need to know the IP address of the device. Type this command:
ifconfig
IP addresses:

Ethernet: 192.168.1.114
Wifi    : 192.168.1.109
You can access the Raspberry Pi using this dynamic IP address. But because dynamic IP address change sometime, it’s better to set static ip address.
Raspberry Pi Static IP
To assign static ip address, we need to configure dhcpcd.conf
sudo nano /etc/dhcpcd.confGo down to the bottom and you will see “Example static IP configuration“. Below is may configuration that fits to my network. Your’s maybe different, please configure it according to your preferences.
#Static IP configuration for Ethernet
interface eth0
static ip_address=192.168.1.10/24
static routers=192.168.1.1
static domain_name_servers=192.168.1.1 8.8.8.8

#Static IP configuration for Wifi
interface wlan0
static ip_address=192.168.1.11/24
static routers=192.168.1.1
static domain_name_servers=192.168.1.1 8.8.8.8
Save, exit and reboot
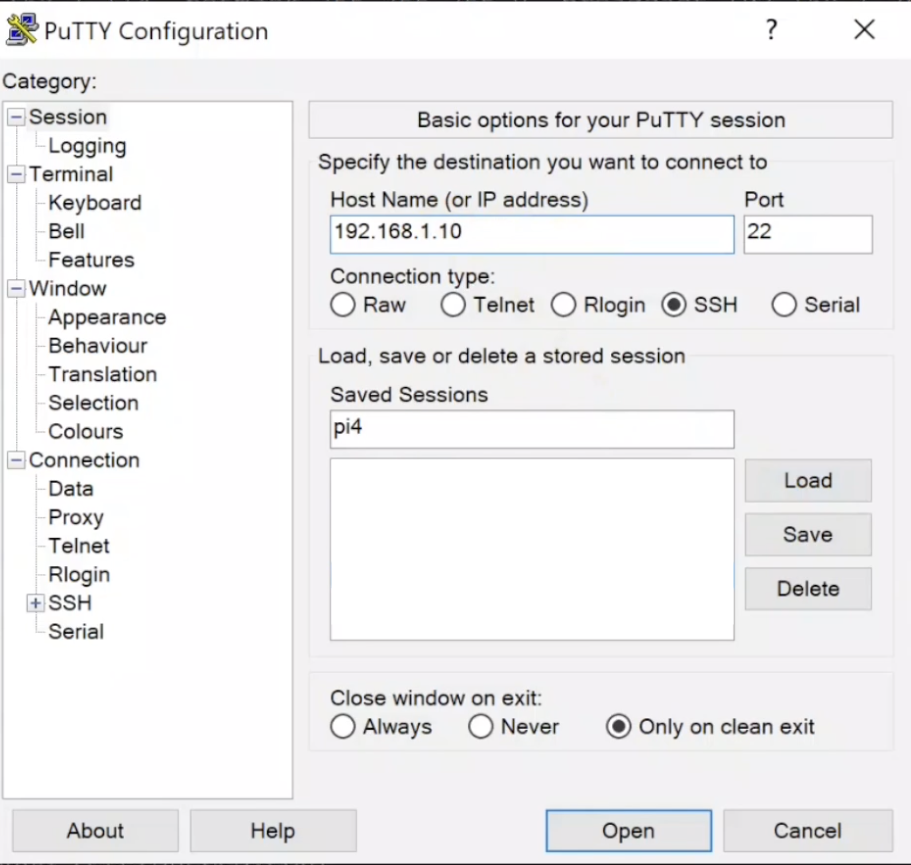
sudo rebootAccess the command line using Putty
Download first the Putty program. Click here to download
Using Putty, you can access your Raspberry Pi console to now using a computer that is connected on the same network to access your Raspberry Pi console.
Run the program, type the static IP address of the Raspberry Pi and click Open.
Finally, once you are connected, you have to update the Raspberry Pi
sudo apt-get update
sudo apt-get upgrade
That’s it, you just installed a fresh Raspberry Pi OS lite.