Install Plex Media Server on Raspberry Pi 3 2017. Plex media server let you stream your media on any device starting from your Phone, Tablets, Roku and many more. This allows you to manage your entire media collection such as video, music and pictures.
In this tutorial you will learn simple steps on how to install Plex media server on a Raspberry Pi 3. This tutorial includes the installation of Torrent application (Transmission). This will help you to movies on the web easily. We will install samba server for file sharing. This will make it easy for you to manage your movies on your network.
What you need:
- Noobs or Raspbian installed in Raspberry Pi
- Setup Static IP on Raspberry Pi
- Putty
Raspberry Pi details:
- Static IP: 192.168.2.200
- Movies Folder: /home/pi/movies
- Application to install:
- Plex media server
- Https transport
- Transmission torrent
- Samba file sharing
Please watch the video tutorial about how to install Plex media server
Setup a Static IP on Raspberry Pi 3
On this step we will set static IP on Wifi. If you want to configure static IP for Ethernet please read my previous post about setting up a static IP address on Raspberry Pi 3
On Putty type the IP address of your Raspberry pi or type the domain name raspberrypi.local
Let’s start editing the network interfaces
sudo nano /etc/network/interfaces
Below code is the default configuration. If you see the same code, leave it.
auto eth0
iface eth0 inet manual
allow-hotplug wlan0
iface wlan0 inet manual
    wpa-conf /etc/wpa_supplicant/wpa_supplicant.conf
Edit the Dhcpcp configuration
sudo nano /etc/dhcpcd.conf
And paste the code listed below:
interface wlan0
     static ip_address=192.168.2.200/24
     static routers=192.168.2.1
     static domain_name_servers=192.168.2.1
Ensure dhcpcd and networking service are enabled
sudo systemctl enable dhcpcd
sudo systemctl enable networking
To apply the change we made, please reboot your Raspberry Pi
sudo reboot
Login to your Raspberry Pi again and test your internet
sudo apt-get update
Install Plex Media server on Raspberry Pi 3
Installing Plex on Raspberry Pi is a little different compare to Linux computers. Please follow along as this tutorial guide you the way.
Step 1: Add the dev2day repository to our source list
sudo nano /etc/apt/sources.list
add this line below
deb https://dev2day.de/pms/ jessie main
Download the key from dev2day and add the key
wget https://dev2day.de/pms/dev2day-pms.gpg.key
sudo apt-key add dev2day-pms.gpg.key
Step 2: Install https transport package
sudo apt-get install apt-transport-https
Step 3: Install the Plex media server package
sudo apt-get update
sudo apt-get install -t jessie plexmediaserver
Step 4: Change the permission by adding pi user to Plex media server user
sudo nano /etc/default/plexmediaserver
Find and Change the user as pi.
PLEX_MEDIA_SERVER_USER=pi
Restart the service
sudo service plexmediaserver restart
Go to your web browser and type the address : [your raspberry pi ip address] followed by :32400/web
In my case its 192.168.2.200:32400/web
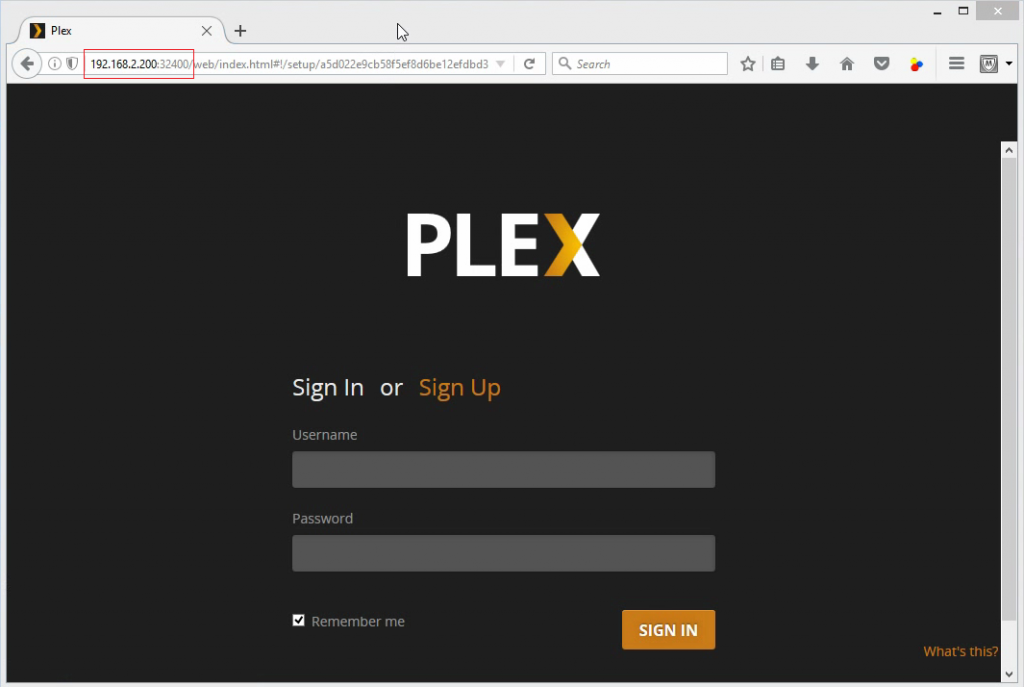
Sign in using your account details. Please sign up to create an account.
Let stop here for a moment and install torrent application.
Installing Torrent application Transmission on Raspberry pi 3
In the next step we will install Transmission as our Torrent application
Back it our terminal, start installing Transmission
sudo apt-get install transmission-daemon
Stop the service first.
sudo service transmission-daemon stop
Make a backup of the default configuration first
sudo cp /etc/transmission-daemon/settings.json /etc/transmission-daemon/settings.json.bak
Let’s start editing the configuration
sudo nano /etc/transmission-daemon/settings.json
Find and replace with the value listed below:
"rpc-authentication-required": false
"rpc-whitelist": "127.0.0.1,192.168.2.*"
The rpc-whitelist IP address starting from 127 is a loop and do not remove it. The address starting from 192 is your network address. Please change it according to your network IP address. Save and exit.
Now set the default folder for Transmission downloads and change its permission. Go to users root directory and create a folder where movies will be stored
cd
mkdir movies
/home/pi/movies
Set transmission default download folder
sudo nano /etc/transmission-daemon/settings.json
Edit according to the details below. Unmask:2 is used to set every file downloaded owned by the group.
"download-dir": "/home/pi/movies"
"umask": 2
Changing folder permission. User pi will be added to debian-transmission group and the group will have full access (chmod 770) to the movies folder
sudo usermod -a -G debian-transmission pi
sudo chgrp debian-transmission /home/pi/movies
sudo chmod 770 /home/pi/movies
Now run Transmission
sudo service transmission-daemon startGo to your web browser and type the address below:
raspberrypi.local:9091/transmission/web/
or
192.168.2.200:9091/transmission/web/
Try to download torrent file or get a magnet links from the web and add it the Transmission web interface. It should download and will be saved in the default folder we set.
Install and set up Samba Server
We need share the folder on the network so we can organize our files. To do that we need to install Samba server.
sudo apt-get install samba samba-common-bin
sudo nano /etc/samba/smb.conf
Find and change the value according to below details:
workgroup = WORKGROUP
wins support = yes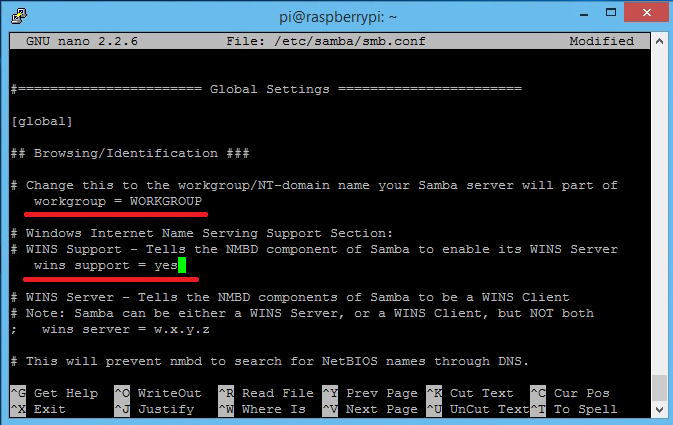
Go down and paste the code:
[PlexMedia]
     comment=Plex Media Files
     path=/home/pi/movies
     browseable=Yes
     writeable=Yes
     only guest=no
     create mask=0777
     directory mask=0777
     public=no
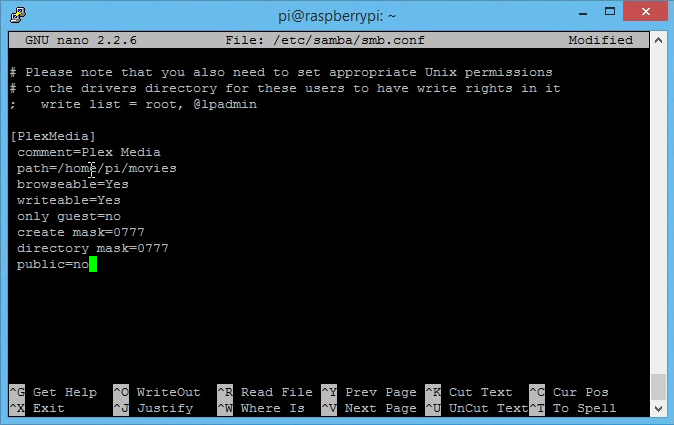
To turn the folder visible to everyone in the network, please change public as yes.
Add pi user to Samba server and enter the password twice
sudo smbpasswd -a piTest the file sharing if it works on Windows computer. Open a window and type the address: \\192.168.2.200
The PlexMedia folder should appear. All movies downloaded by the Torrent will show up here.
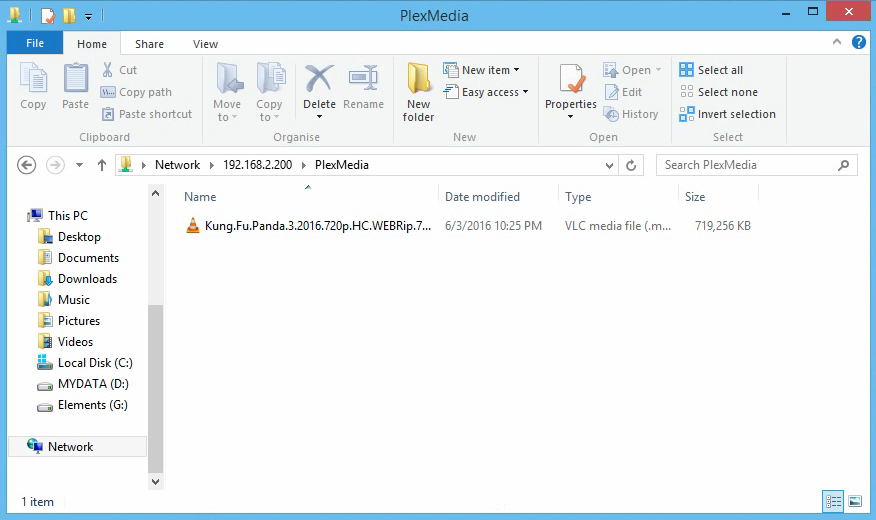
You can also copy, paste or delete movies in this folder.
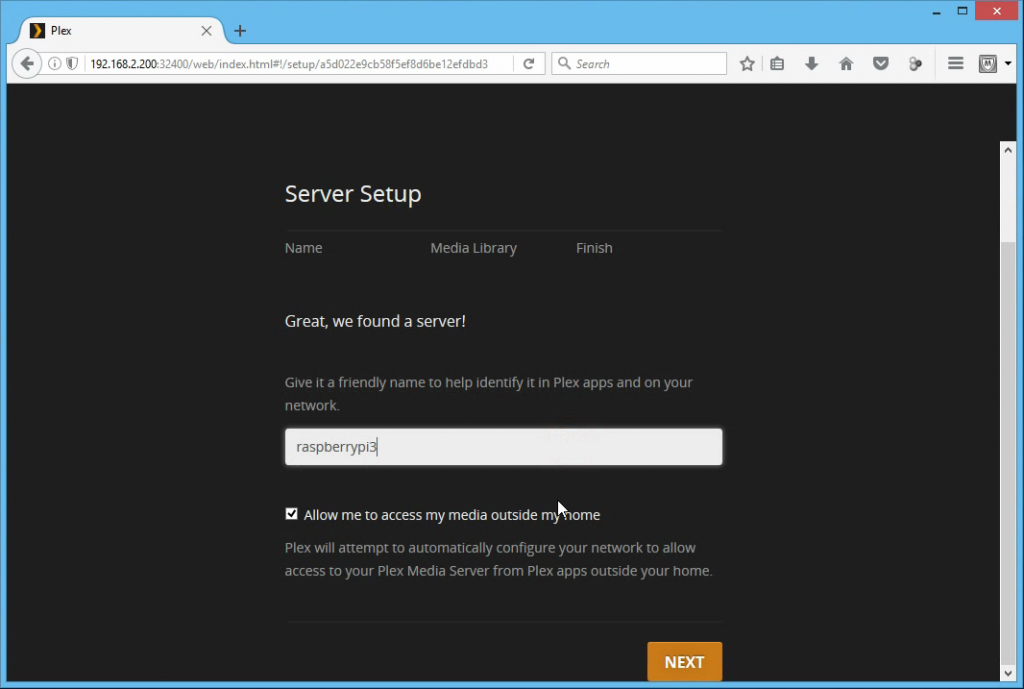
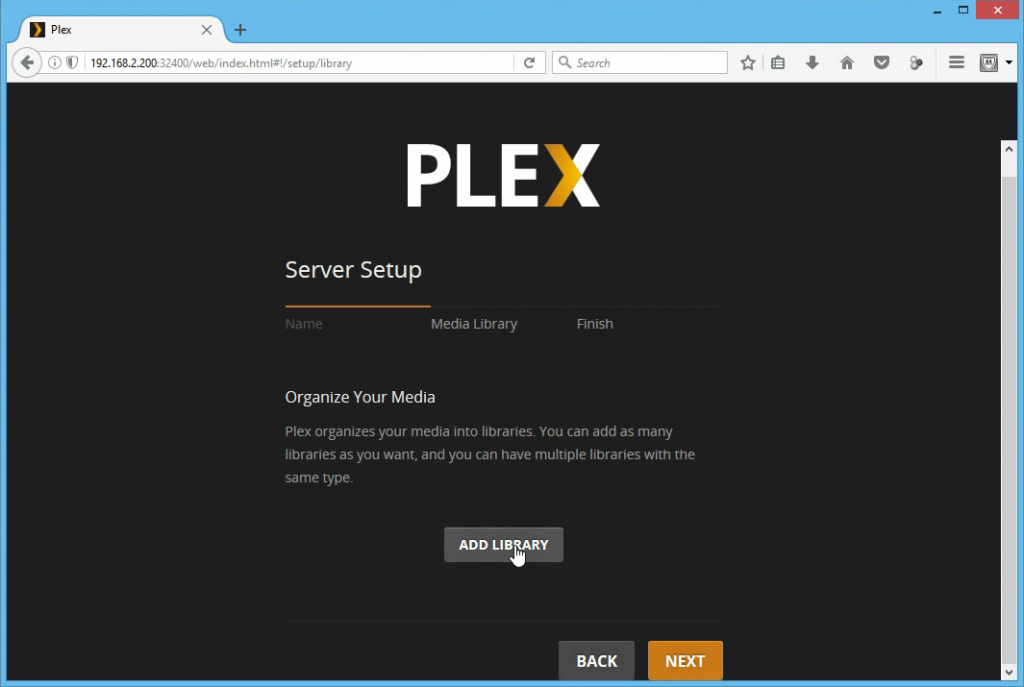
Configuring Plex Media Server on the web browser
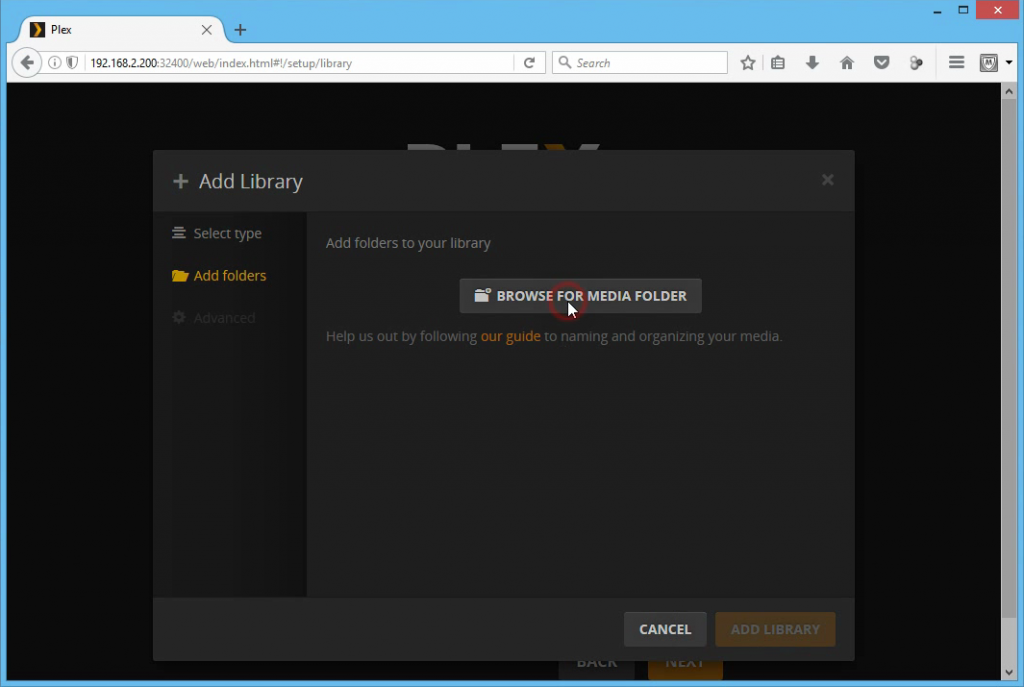
Go back to your browser. Since we already logged in and on the Server setup page, click Add Library
Select Movies

Browse for Media folder
and locate the folder /home/pi/movies
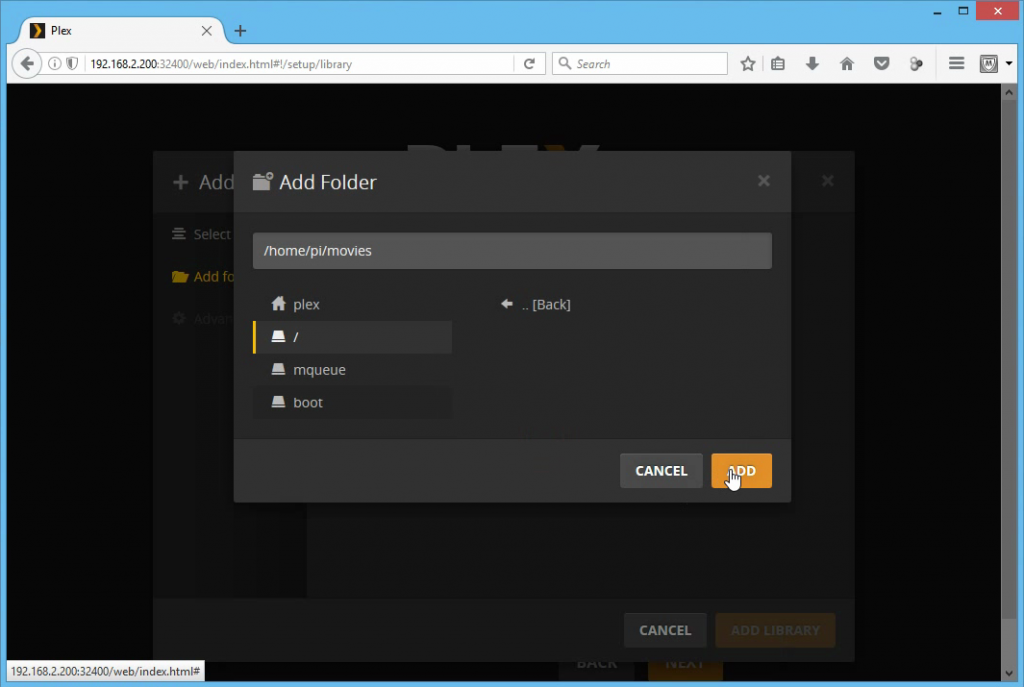
Finally, your saved movies will appear on the main page.
If your Roku is on the same network as your Raspberry Pi, it should also work.
Congratulation you just installed a Plex Media Server on a Raspberry Pi.
Hi Kyle !
Thank you very much for this tutorial. I’m a beginner with RaspberryPi and everything worked very well.
I only have one issue : When I finished to install PMS, you access to the server with [your raspberry pi ip address] followed by :32400/web
I access to Plex, and “claim” the server. After that Plex ask to connect with the account, but I have the error message : “An error occurred while opening your plex session”
Can you help me ?
does it works on debian server?