Raspberry Pi 2018. Ubuntu Mate 16.04 is a Linux based distributions and it offers some functionality that make your Raspberry Pi projects easy. This updated 2018 tutorial will guide you to install Ubuntu Mate on a Raspberry Pi 3.
Step 1: Download the Ubuntu Mate image
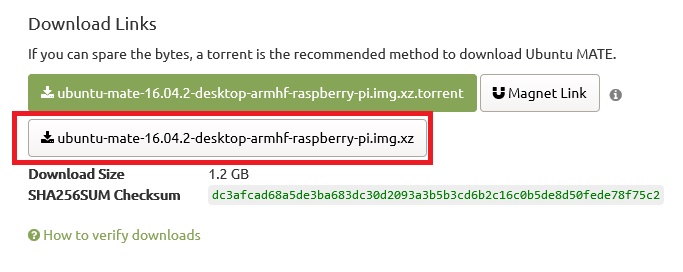
- Download the Image here. Select Raspberry Pi 3 >> 16.04.2 Xenial >>

You can download it through Torrent. If you want a direct download, click the link below the torrent link. It’s name as of now is ubuntu-mate-16.04.2-desktop-armhf-raspberry-pi.img.xz - Now download Win32 Disk Imager here and install the software.
- Download here and install.
- Extract the Ubuntu Image using WinRar.
STEP2: Uploading the Ubuntu Mate Image to SD card
- Open Win32 Disk Imager and load the disk image of Ubuntu we extracted.
- Insert your SD card to your Computer and click Write. If you are having error writing your SD card, you may have problems on SD’s partition. If that so, you need to reset the partition by using Windows Disk Manager. To open it:
- Right click the windows start button and select Disk Management or
- Go to control Panel >> Administrative Tools >> Computer Management >> Storage >> Disk Management or
- Search for Disk Management
- On Disk Management window, find your SD card. Usually it has label “Removable“. On the image below, my SD card is the Disk 1 with 7.4 GB. This is my 8GB card. Please avoid changing your hard drive (the Disk 0) It’s my hard disk where my data are saved. Changing it will erase your Data.
- On Disk 1 (your SD card), there are 2 partitions and 1 unallocated. Right click one partition and click Delete Volume. Do the save with the other partition until you see only one single unallocated space.
- After you reset the SD, open Win32 Disk Imager and click Write. Writing takes more or less 15 minutes.
STEP 3: Installing Ubuntu Mate on Raspberry Pi 3
Plug your keyboard, mouse and LCD to the Raspberry Pi and turn it on. Installation will take few minutes. It will ask you to select your Language, Wifi, Location, Keyboard and your profile.
Type your name, computer name, username and password. Select Log in automatically for simplicity and click continue
Configure your Pi by clicking the top left window named Applications >> System Tools >> MATE Terminal type
sudo raspi-configSelect (3) Interfacing Options >> (P2) SSH >> Click Yes
Select (5) Advanced Options >> (A1) Expand Filesystem
Select Finish and Reboot
After the reboot, open the Mate Terminal again and type
ifconfigGet your IP address written on screen. (on my Raspberry Pi it’s 192.168.1.17)
STEP 4: SSH RASPBERRY PI
Download Putty here.
Go to Alternative binary Files and click 32-bit putty.exe
Run Putty and enter the IP address of your Raspberry Pi at the Host Name and click Open
If login successful then you have made a remote connection to your Raspberry Pi. This will be useful to configure your PI
To Shutdown your pi, type
sudo poweroff